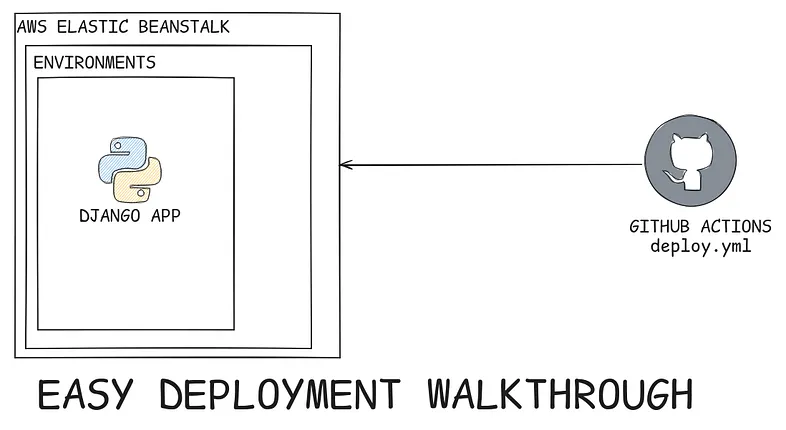
Deploying a Django Application on AWS ElasticBeanstalk with GitHub Actions: Easy Walkthrough

Introduction
AWS is the current leader in the cloud market and powers almost 1/3 of the sites that are running on the world. From Web Development, App Development, Machine Learning to Robotics and IoT. It has everything you need to get started fast and focus on building things rather than spending lots of time on configuration.
Saying that you may argue, but Sudip isn't it more hard to configure these things since i don't have a proper idea how it's done. You are right AWS is little overwhelming at beginning but you will learn it fast, just need to give some time. I am not some pro user who used all the services i am still learning about it's services and all that. Let's hop into the topic.
Today we will learn how you can deploy your django application properly with github actions to aws elastic beanstalk.
Configuration on the AWS Console
Open your aws console and search for the elastic beanstalk. Go ahead and create a environment.
Note: Basically elastic beanstalk has two things one is environment where you configure things like setting your environment variables and all that and the application where your actual application is.
You can name the environment in any manner but a good name is always a good thing according to what purpose your application serve.

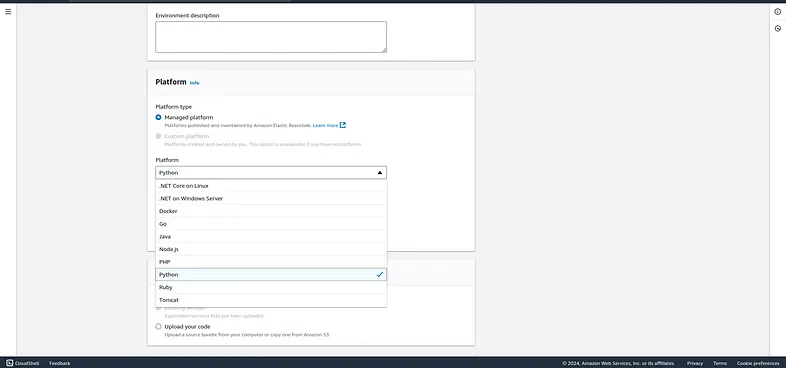
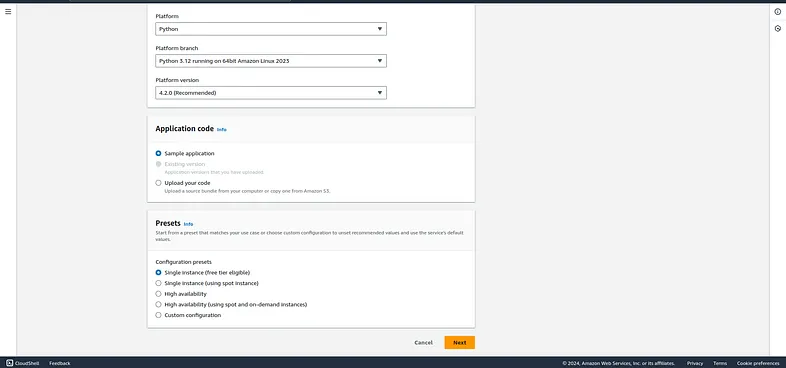
Choose a platform since we are planning to deploy our django application so choose python the versions are automatically selected you can tweak according to your python version your django app is currently running.
You can simply choose the sample application and you are good to go.
You need to set IAM and for that you can visit the IAM and click on roles and create a role and attach these three permissions.

After that go back to your application and choose that service role and after that you can create a beanstalk application after hitting next few times.
Note: You can skip most of the configuration if you don't need those
Now our application and environment are ready now it's time to move to our code.
Configurations on Code Side
Upload the code in the github and follow the below steps carefully.
Step 1: Create .ebextensions/django.config
option_settings:
  aws:elasticbeanstalk:container:python:
    WSGIPath: your_application_name.wsgi:application
Step 2: Create Procfile
web: gunicorn exploredenback.wsgi
If you want to use gunicorn. Be sure to setup these to your django project.
Step 3: Create .github/workflows/deploy.yml
name: Deploy to Elastic Beanstalk

on:
  push:
    branches:
      - main

jobs:
  build:
    runs-on: ubuntu-latest
    steps:
      - name: Checkout source code
        uses: actions/checkout@v2

      - name: Set up Python
        uses: actions/setup-python@v2
        with:
          python-version: '3.11'

      - name: Install dependencies
        run: |
          python -m venv venv
          source venv/bin/activate
          pip install -r requirements.txt

      - name: Collect static files
        run: |
          source venv/bin/activate
          python manage.py collectstatic --noinput

      - name: Generate deployment package
        run: |
          zip -r deploy.zip . -x '*.git*' 'venv/*'

      - name: Deploy to EB
        uses: einaregilsson/beanstalk-deploy@v22
        with:
          aws_access_key: ${{ secrets.AWS_ACCESS_KEY_ID }}
          aws_secret_key: ${{ secrets.AWS_SECRET_ACCESS_KEY }}
          application_name: your-application-name
          environment_name: your-environment-name
          version_label: ${{ github.sha }}
          region: us-east-1
          deployment_package: deploy.zip
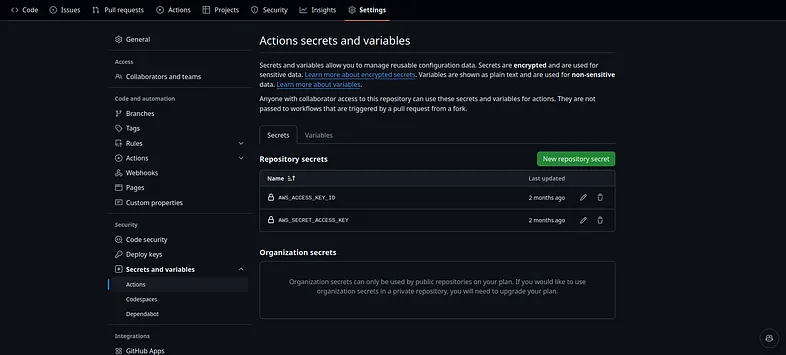
Remember to modify the application, environment and region names then. you can set the secrets in your github settings like this.
Final Steps
Now you are good to go. The deploy.yml file will build and deploy the django app automatically to your elasticbeanstalk. You can view your application logs and other things directly in the beanstalk for further debugging.
Key Benefits of This Setup:
- Automated Deployment: Every push to main branch automatically deploys your application
- Version Control: Each deployment is tagged with the git commit SHA
- Easy Rollback: You can easily rollback to previous versions through AWS console
- Scalability: Elastic Beanstalk handles auto-scaling based on traffic
- Monitoring: Built-in monitoring and logging capabilities
Troubleshooting Tips:
- Static Files: Make sure to run
collectstaticbefore deployment - Environment Variables: Set them in the Elastic Beanstalk environment configuration
- Database: Consider using RDS for production databases
- HTTPS: Configure SSL certificates through AWS Certificate Manager
Conclusion
That's for today guys hope you enjoyed this tutorial. If this helped you in any way please consider following me. I upload blogs related to python, django and things related to web development, algorithms and data science.
Deploying Django applications to AWS Elastic Beanstalk with GitHub Actions provides a robust, scalable, and automated deployment pipeline. This setup allows you to focus on developing your application while AWS handles the infrastructure management.
Keep Learning and Keep Sharing the things you learned. Happy Learning!